How to Set Up Parental Controls on a Nintendo Switch
Get a Nintendo Switch? Let's talk about how you can set it up for piece of mind.
Chad Rychlewski
9/12/20252 min read

The Nintendo Switch is a fantastic console for kids and families, but as a parent, you may want to manage your child’s playtime, the type of content they can access, and even how they interact with others online. Fortunately, Nintendo makes this easy with built-in Parental Controls.
To make things easier, we purchased a Switch and went through the initial setup steps, so you can follow along if you decide to get one for your family. In this guide, we’ll walk you through the process of setting up and customizing parental controls to fit your family’s needs.
Why Use Parental Controls?
Parental controls allow you to:
Limit playtime to prevent excessive gaming.
Restrict games by age rating so your child only plays age-appropriate content.
Block communication features (like chatting with strangers).
Manage purchases to avoid unexpected charges.
Monitor gameplay activity via the Nintendo Switch Parental Controls app.
Option 1: Set Up Parental Controls Directly on the Switch
You can set some restrictions right from the console:
Go to System Settings
From the Switch Home menu, select the gear icon at the bottom.
Scroll to Parental Controls
Select Parental Controls > Parental Controls Settings.
Choose Restriction Level
You can pick a preset (Child, Pre-Teen, Teen) or create a Custom Setting.
Restrictions can include age-appropriate game ratings, communication features, and social media posting.
Set a PIN
This prevents kids from changing settings without your permission.
----------------------------------
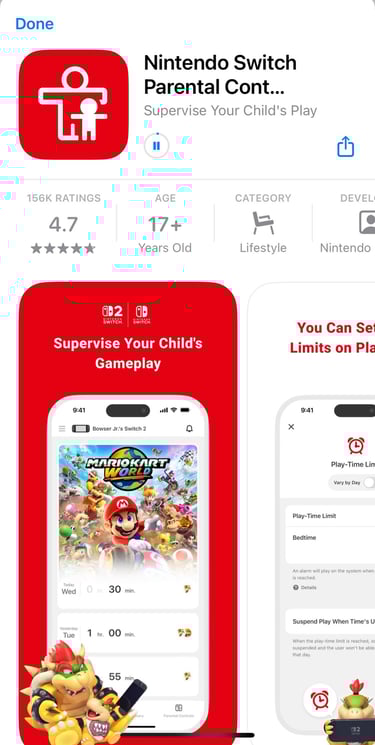
Option 2: Use the Nintendo Switch Parental Controls App (suggested route)
For more advanced monitoring, Nintendo offers a free mobile app for iOS and Android.
Download the App
Search for Nintendo Switch Parental Controls in the App Store or Google Play.
Link the App to Your Switch
Open the app and log in with your Nintendo Account.
On the Switch, go to System Settings > Parental Controls and follow the prompts to pair with your app.
Track Activity
The app shows you which games your child plays and for how long each day.
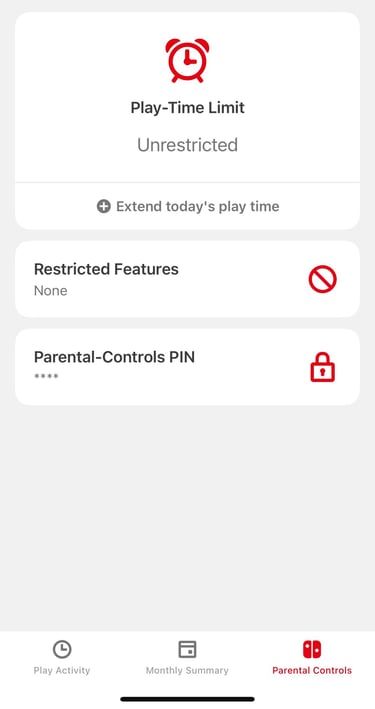
Customize Settings
Set daily playtime limits (e.g., 1 hour/day).
Choose whether to suspend play when the time limit is reached, or simply send a notification.
A Quick Tip on Using the App
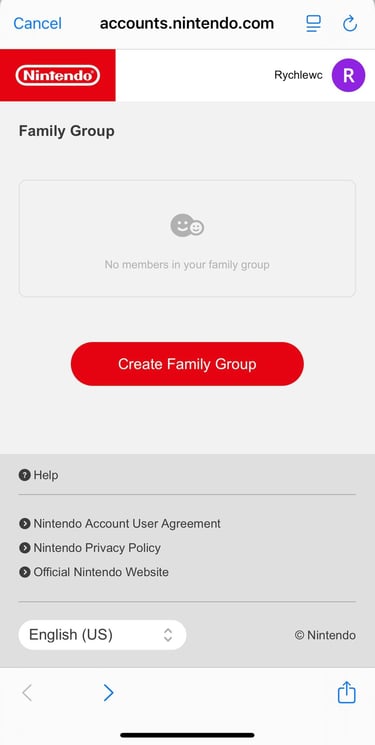
Once you’ve set up the Switch, here’s an extra step that’s crucial:
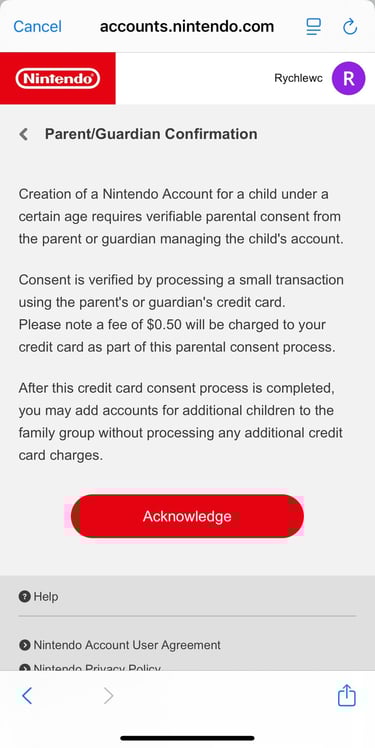
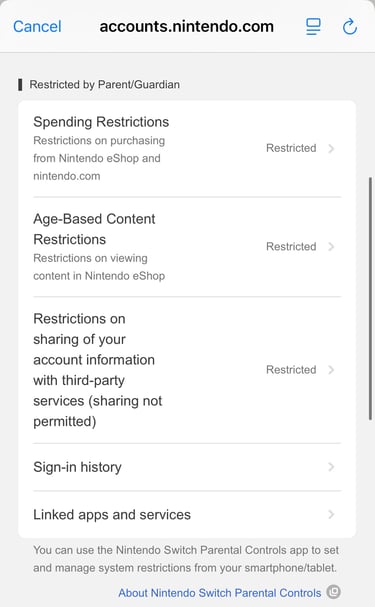
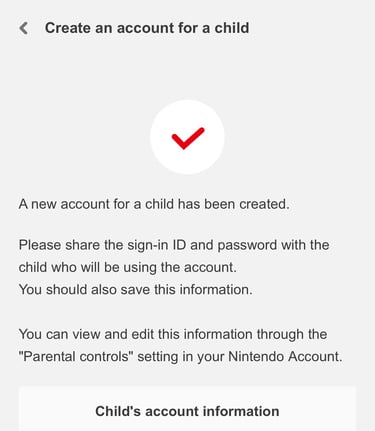
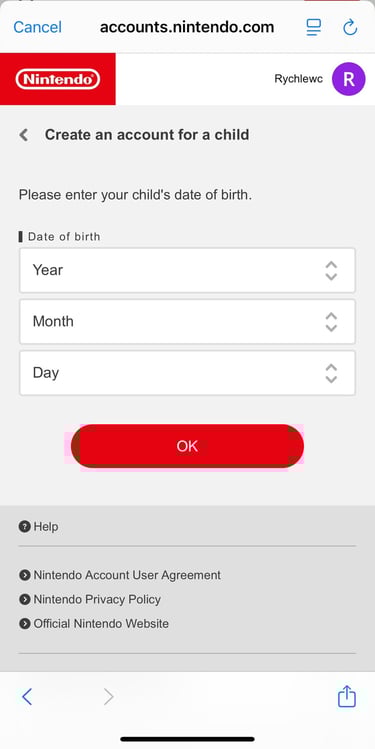
When I set up my Switch with my own account, I created child accounts under the Parental Control settings. This allowed me to restrict chat features, age-appropriate content, and other options. To do this, go to Settings > Users, and log in with your child’s account using a verification code to add them to the device. (Screenshots might help guide you through this step.)
Tips for Parents
Talk to your child about why you’re setting limits—it builds trust and understanding. It’s easier to manage when your child understands the reasoning behind the rules. Keep in mind that if chat is disabled from the start, it becomes their base understanding of what is possible.
Review play reports regularly to ensure the rules are working.
Adjust as they grow—restrictions for an 8-year-old may not suit a 13-year-old.
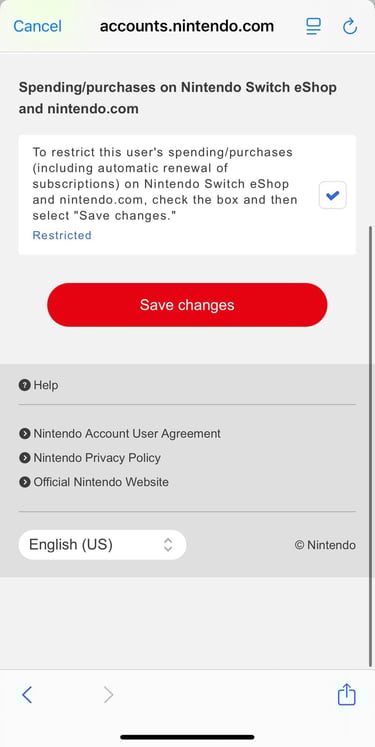
Use purchase restrictions in the eShop to avoid surprise charges.
Final Thoughts
The Nintendo Switch is designed to be fun for all ages, and parental controls give you peace of mind while your child enjoys their games. Whether you use the built-in settings or the mobile app, setting up these tools is quick and makes it easier to keep gaming safe and balanced at home.

Cybersecurity Parents LLC
Empowering families to navigate the digital world.
Email us
© Cybersecurity Parents LLC 2025. All rights reserved.

All content, materials, and sessions provided by Cybersecurity Parents LLC are intended for informational and educational purposes only.
They do not constitute legal, financial, or cybersecurity advice. Parents, educators, and participants should use their own judgment and, when necessary, consult with a qualified professional. By participating in our events, reading our materials, or using our resources, you acknowledge and agree that Cybersecurity Parents LLC is not liable for any actions you take or outcomes resulting from the use or misuse of our content.